Easy Tissue Paper Cherry Blossom Tutorial

Hello everybody! Long time no talk! I’m hoping this easy tutorial lifts your spirits during these tough times. Feel free to use any color of tissue and don’t stress about the details…the flowers end up perfectly fine in the end, you’ll see!
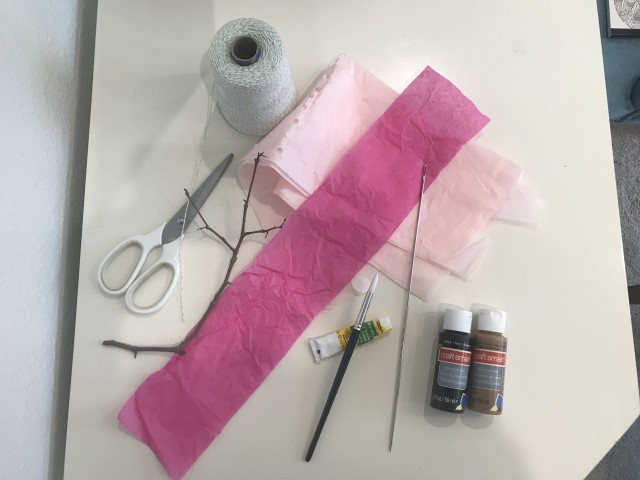
Materials
-A sheet of gift tissue paper cut into a 20 inch by 3 inch wide strips (play with dimensions and quantity to make flowers bigger, fuller, etc.)
-Scissors
-String
-Any kind of stick 8-12 inches in length that allows paper to “glide” (I used a long upholstery needle)
-Branch
-Paint colors of your choice and paintbrush (finer the tip the better)
-Glue
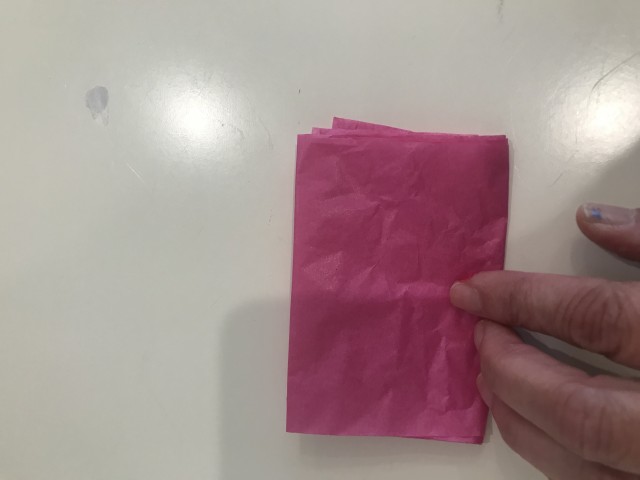
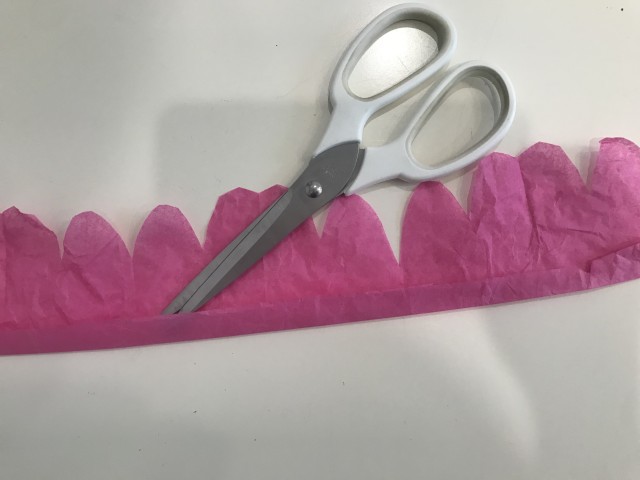
- Fold strip in half (vertically), then again, and again until you get a smallish rectangle about 2-3 inches wide. Cut out two humps on the OPEN sides (not on closed folds).
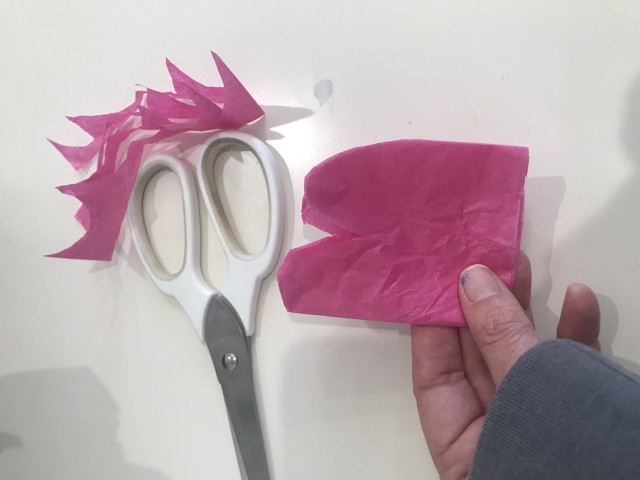
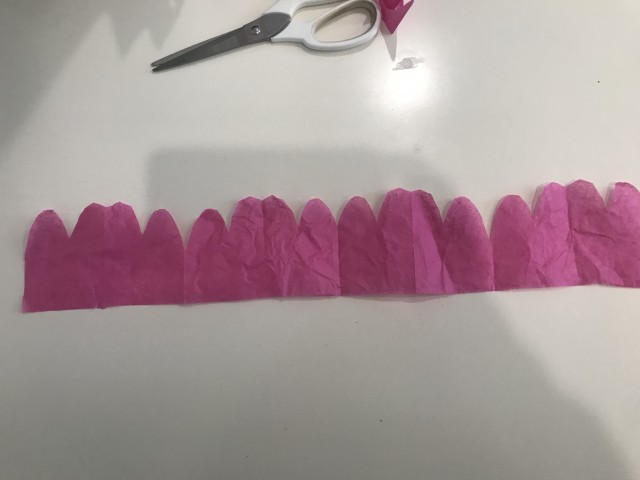
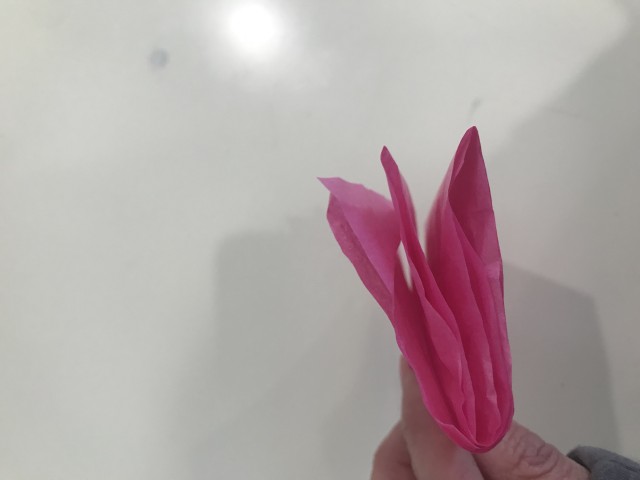
2. Again, cut on the open sides, open up the paper to reveal connected petals.
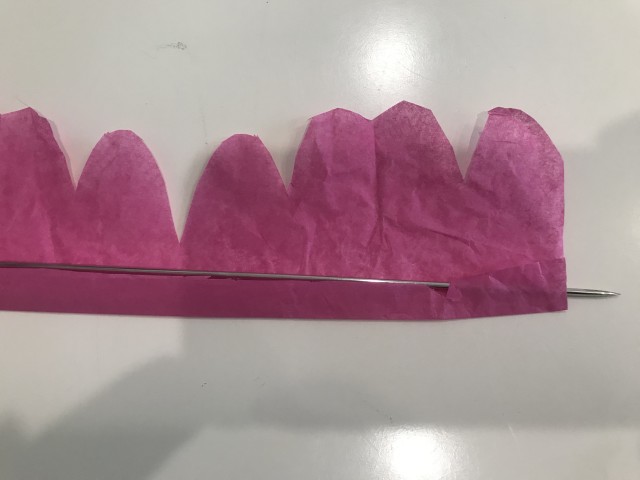
3. Create a 1/2 inch or less fold with a firm crease opposite the petals and insert your stick (think hot dog in a bun).
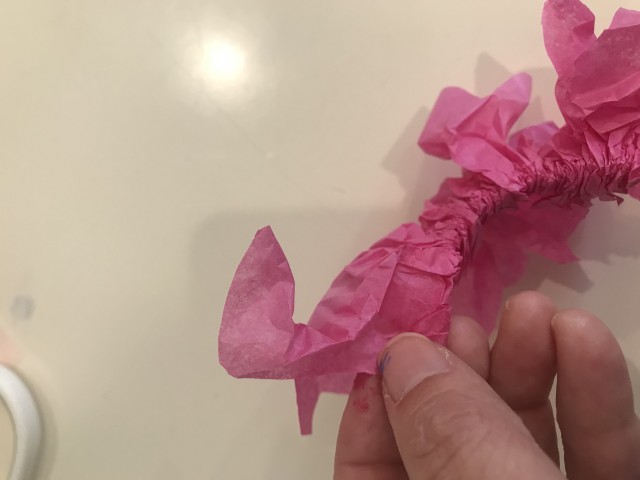
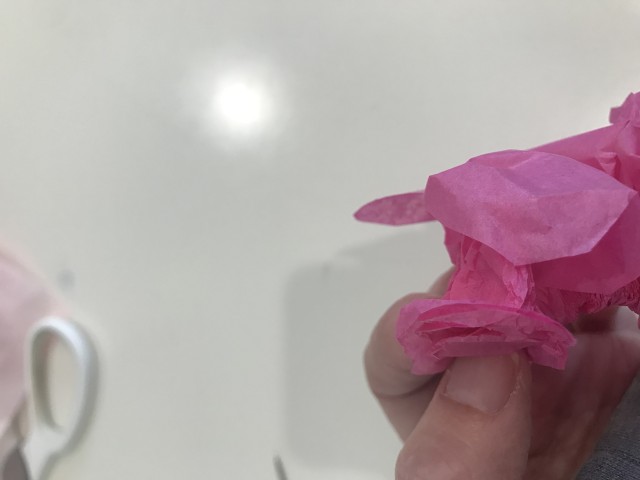
4. Start with both hands near the far right of the stick and start scrunching the tissue paper from left to right. Apply pressure with your fingers to keep stick stable and the size of the bunches consistent. Think of yourself bunching up a curtain on a rod. With the scrunched petals facing outward take that inside scrunched seam and overlap the end to form the beginning of a snail circle. Keep underlapping around the inside of the seam… the looser the circle the wider and looser the petals… you are basically turning the tissue around a center core. Feel free to fluff, separate, and experiment with the volume.
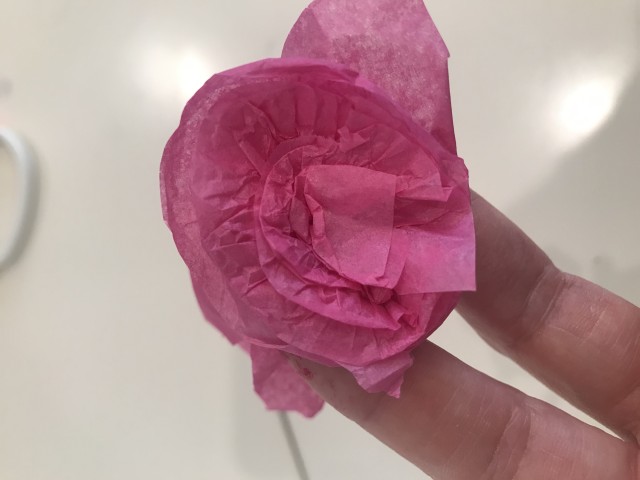
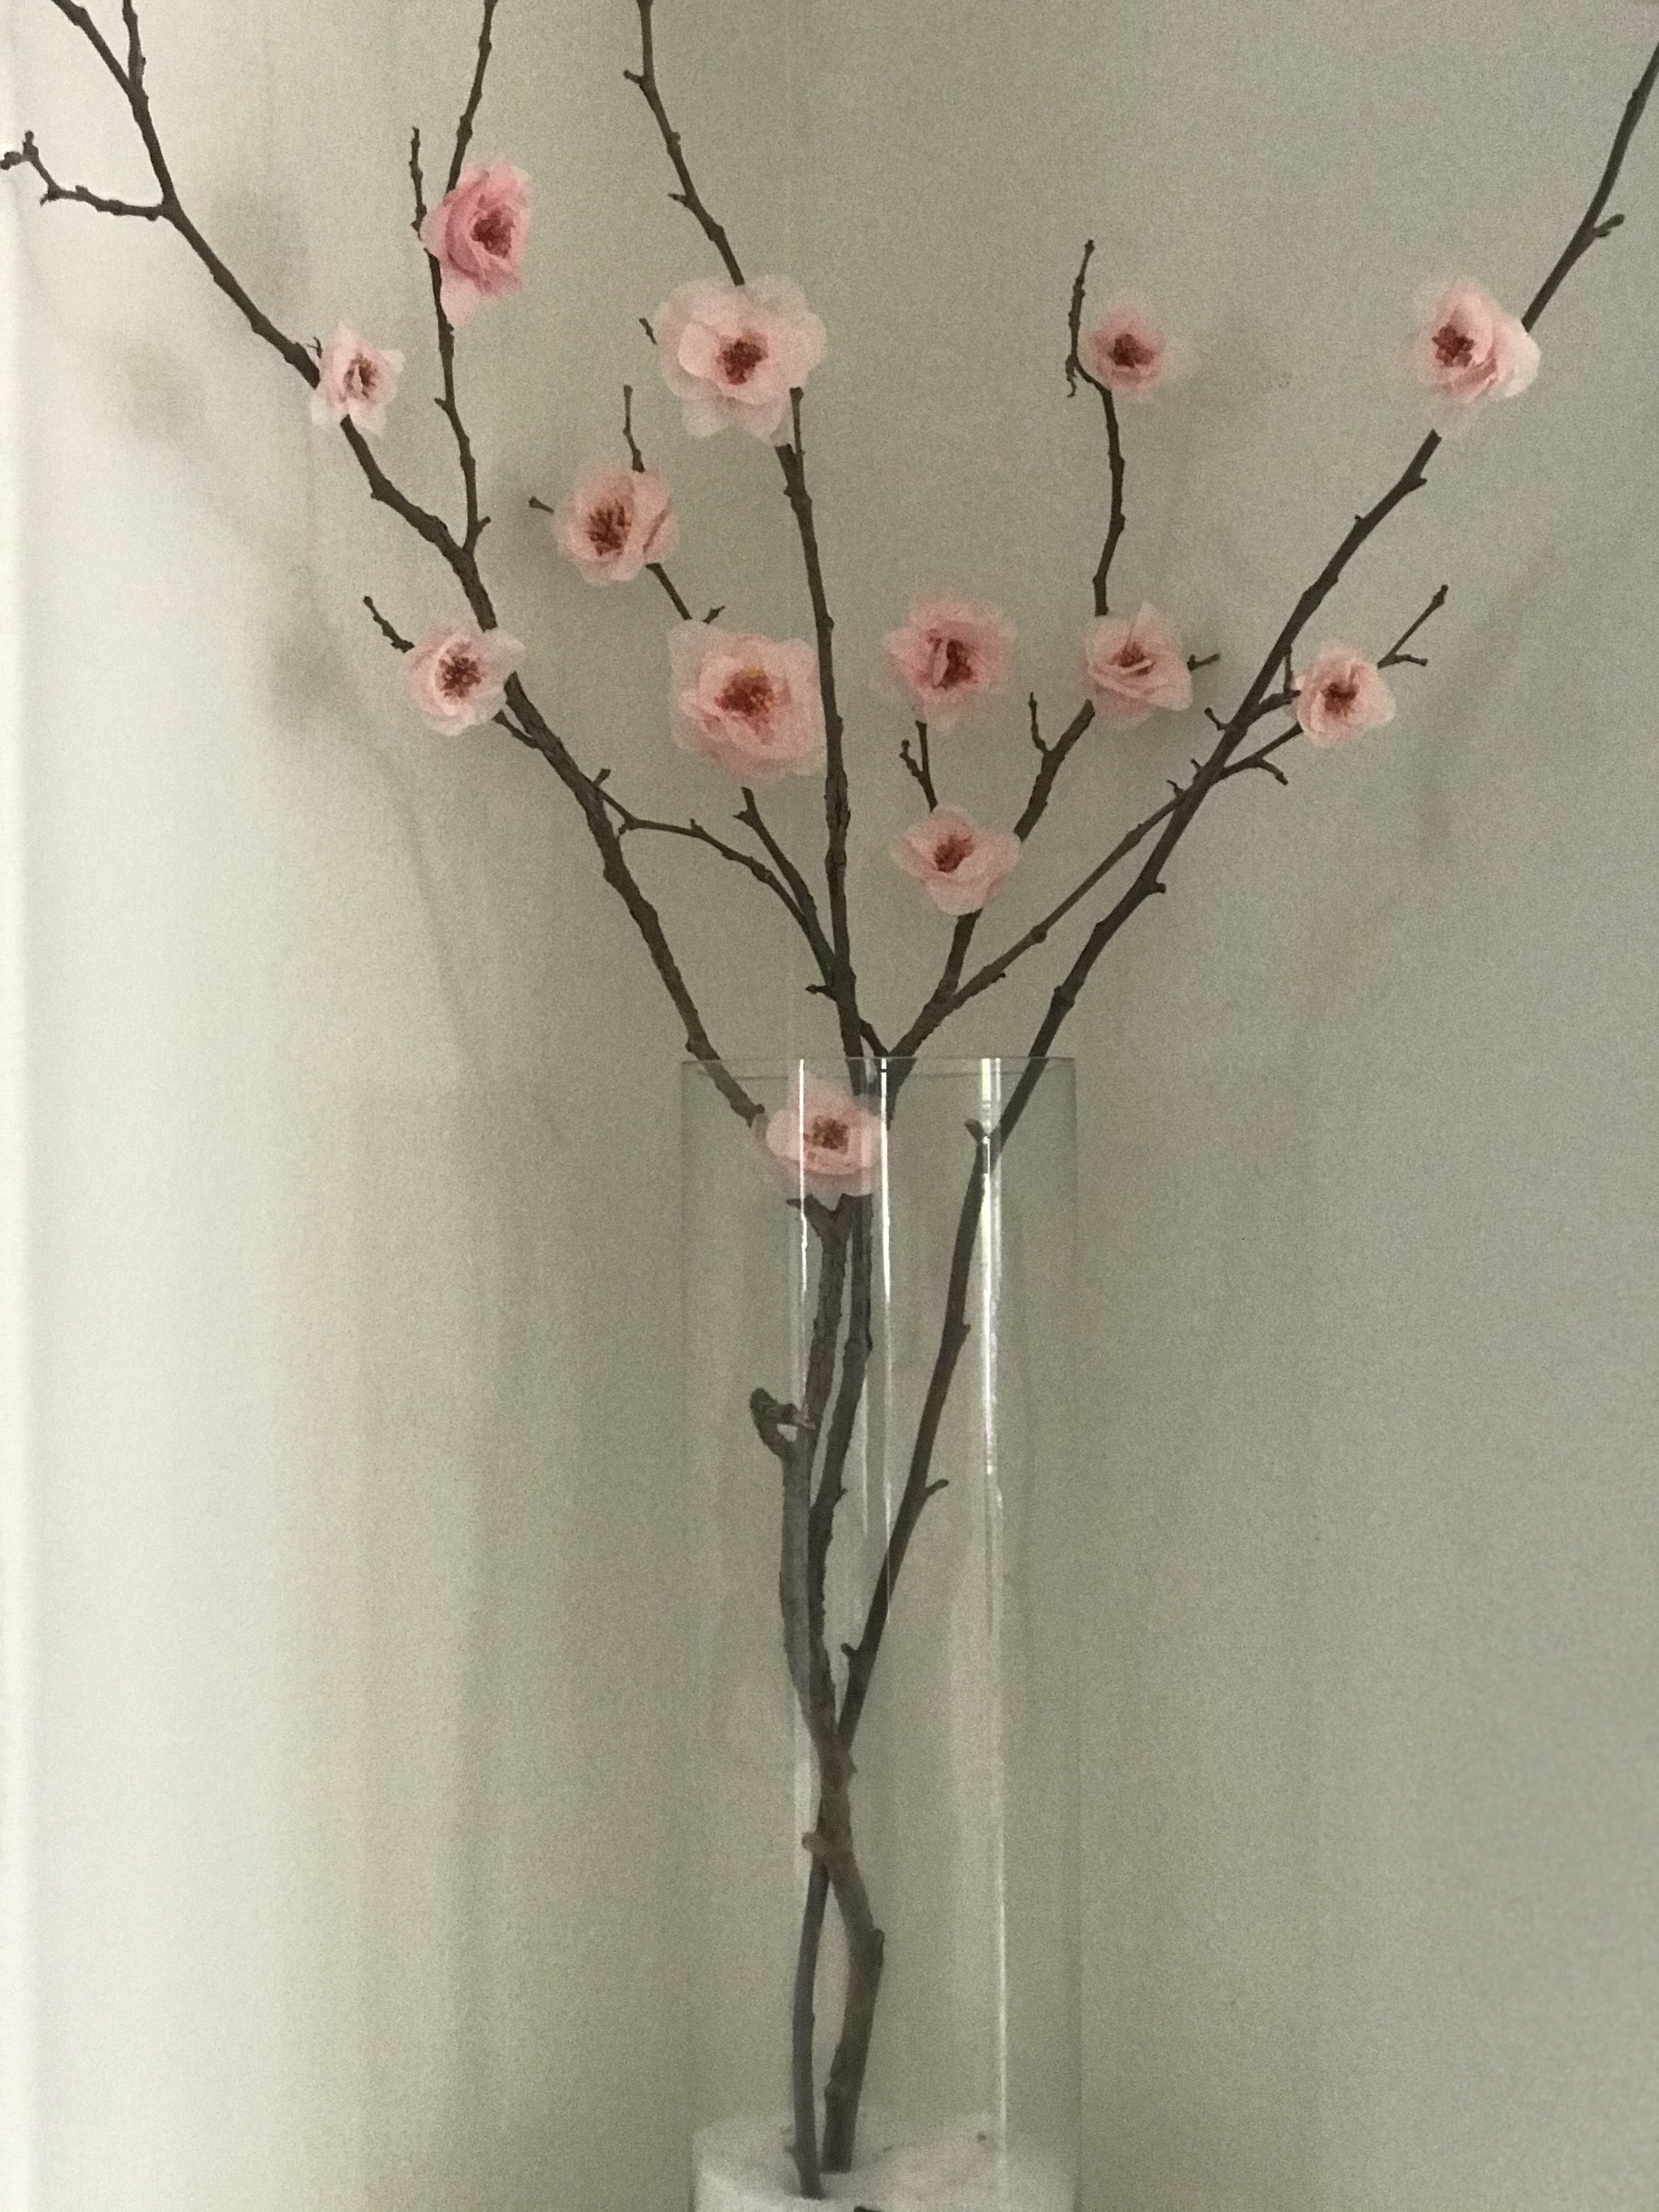
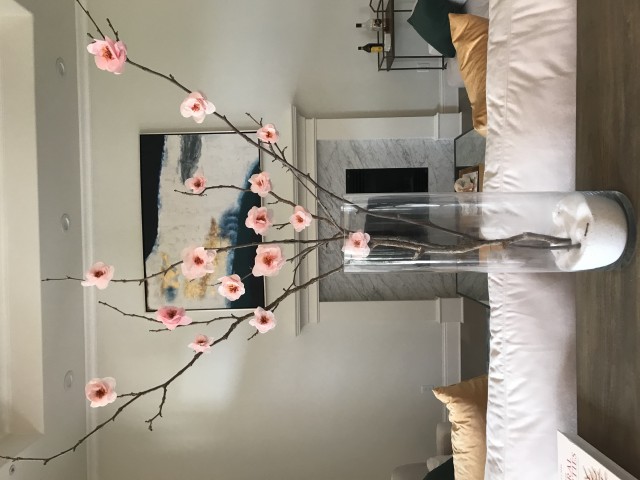
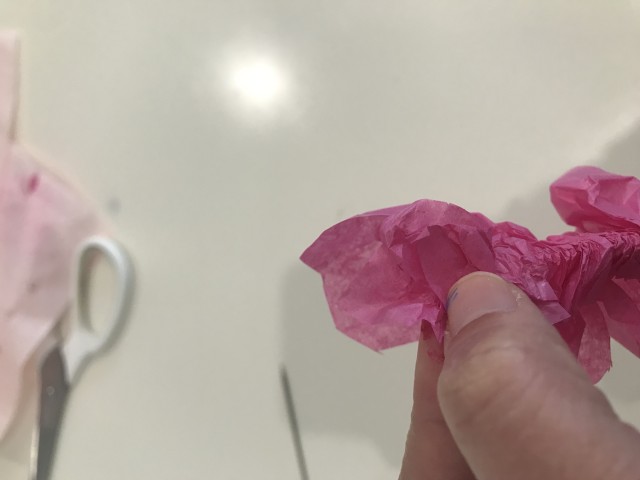
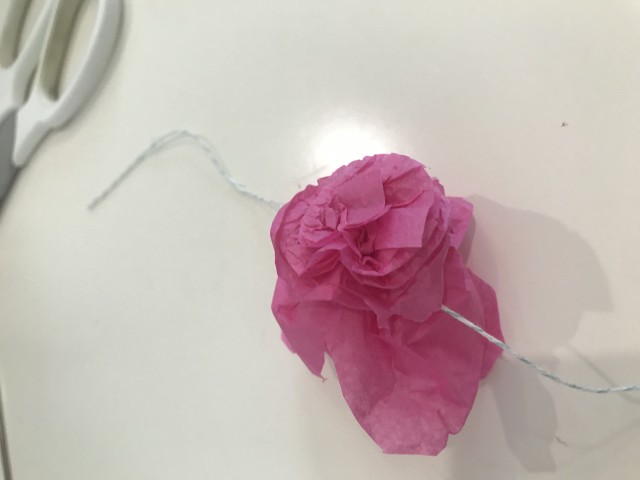
5. You should conclude with a lot of swirls around your starting point. The bottom of your flower should result in a base that can be tied off.
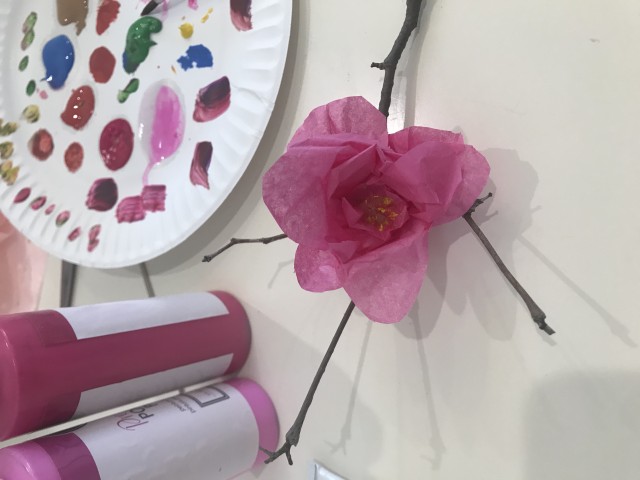
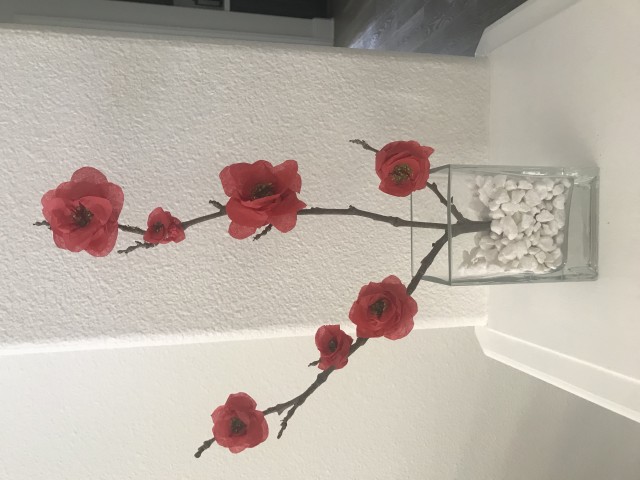
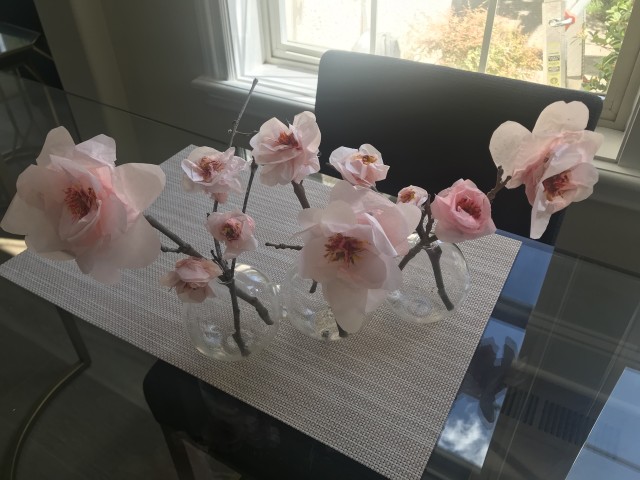
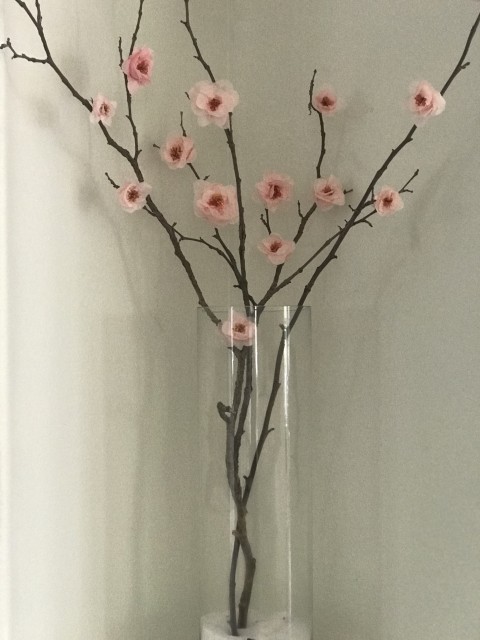
6. Gently depress the center to create a cherry blossom look and feel. I used yellow, brown and pink paint to simulate stamens and add dimension. Play with the size and shape of your tissue strips and creases to create buds, larger flowers, different flowers etc. You can clean up the look of your petals by trimming edges once formed. I’ve seen bleach used on paper to create an ombre effect. I also think layering different colors of tissue together might be interesting as well as cutting petal verticals in half to create more flowers with less volume. Here are some additional flowers I made:
I hope this tutorial added some levity to your day.
Peaceful wishes,
AKA Poppy

It's Not About The Mold